Round-Up of My Photography + Videography Gear
My photography journey began when I started my interior design business in 2015. I was beginning to build my first website and was shopping around for photography services, and it was way more than I could afford at the time! It wasn’t long before I bought my first entry-level Nikon camera and went to work!
The first couple weeks the photos were terrible to say the least! But hey, you’ve gotta start somewhere, right? Once I learned how to shoot in manual mode, that’s when I got much more confident behind the camera! Not only have I’ve shot all of my own content over the years, I’ve taken on various freelance photography + branding for clients here and there.
In this post I’m gonna highlight the equipment I use and breakdown why I use it! I’ve also linked all of the gear for you to check out because 2021 is all about elevation!
CAMERA + LENSES
I upgraded to this camera last winter and I’m obsessed with it. It’s the perfect size camera. Not too big, yet large enough to make you feel like you’re using a more professional camera! I would consider this one of the best camera bodies on the market in terms of quality and cost. Not only can I shoot some tack-sharp images, this baby shoots amazing video footage at 4k. This is the only camera I use for all of my Instagram content.
The best lens for portraits and detail shots. I also love the blurry background effect (bokeh effect) this lens produces. This lens is a bit on the expensive side but it’s well worth it. There is a 50mm F 1.8 lens on the market at half the cost but the quality isn’t there, if you ask me. -I’d save up for the F 1.4 version. To be honest, it’s my least used lens! That’s why it’s important to research your overall needs before investing in gear that you won’t use often.
This kit lens came with my very first camera and It’s probably my second most used lenses in my kit. I use it fr literally everything, interiors, detailed shots and I can even capture some decent portraits with it as well. It’s a zoom lens, meaning you have the advantage of shooting at different focal lengths. One drawback is that this lens doesn’t hold up in low light situations….-It’s not really an issue for me because I mainly shoot the morning + afternoon when the natural light is good.
This is my newest lens and I’m obsessed with it. It’s a wide angle lens and it’s perfect for video + still photography! It’s my go to lens for shooting interior photography. The wide angle allows me to capture a full room and still have enough negative space. That allows room to crop your images to post on IG without cutting off main parts of the image. This lens is a beast, it produces some of the best photos in-camera without any editing. This baby performs really well in low light situations without resulting in a noisy (grainy) photo. This lens is fairly on the inexpensive side but it’s a high quality lens.
TOOLS + LIGHTING
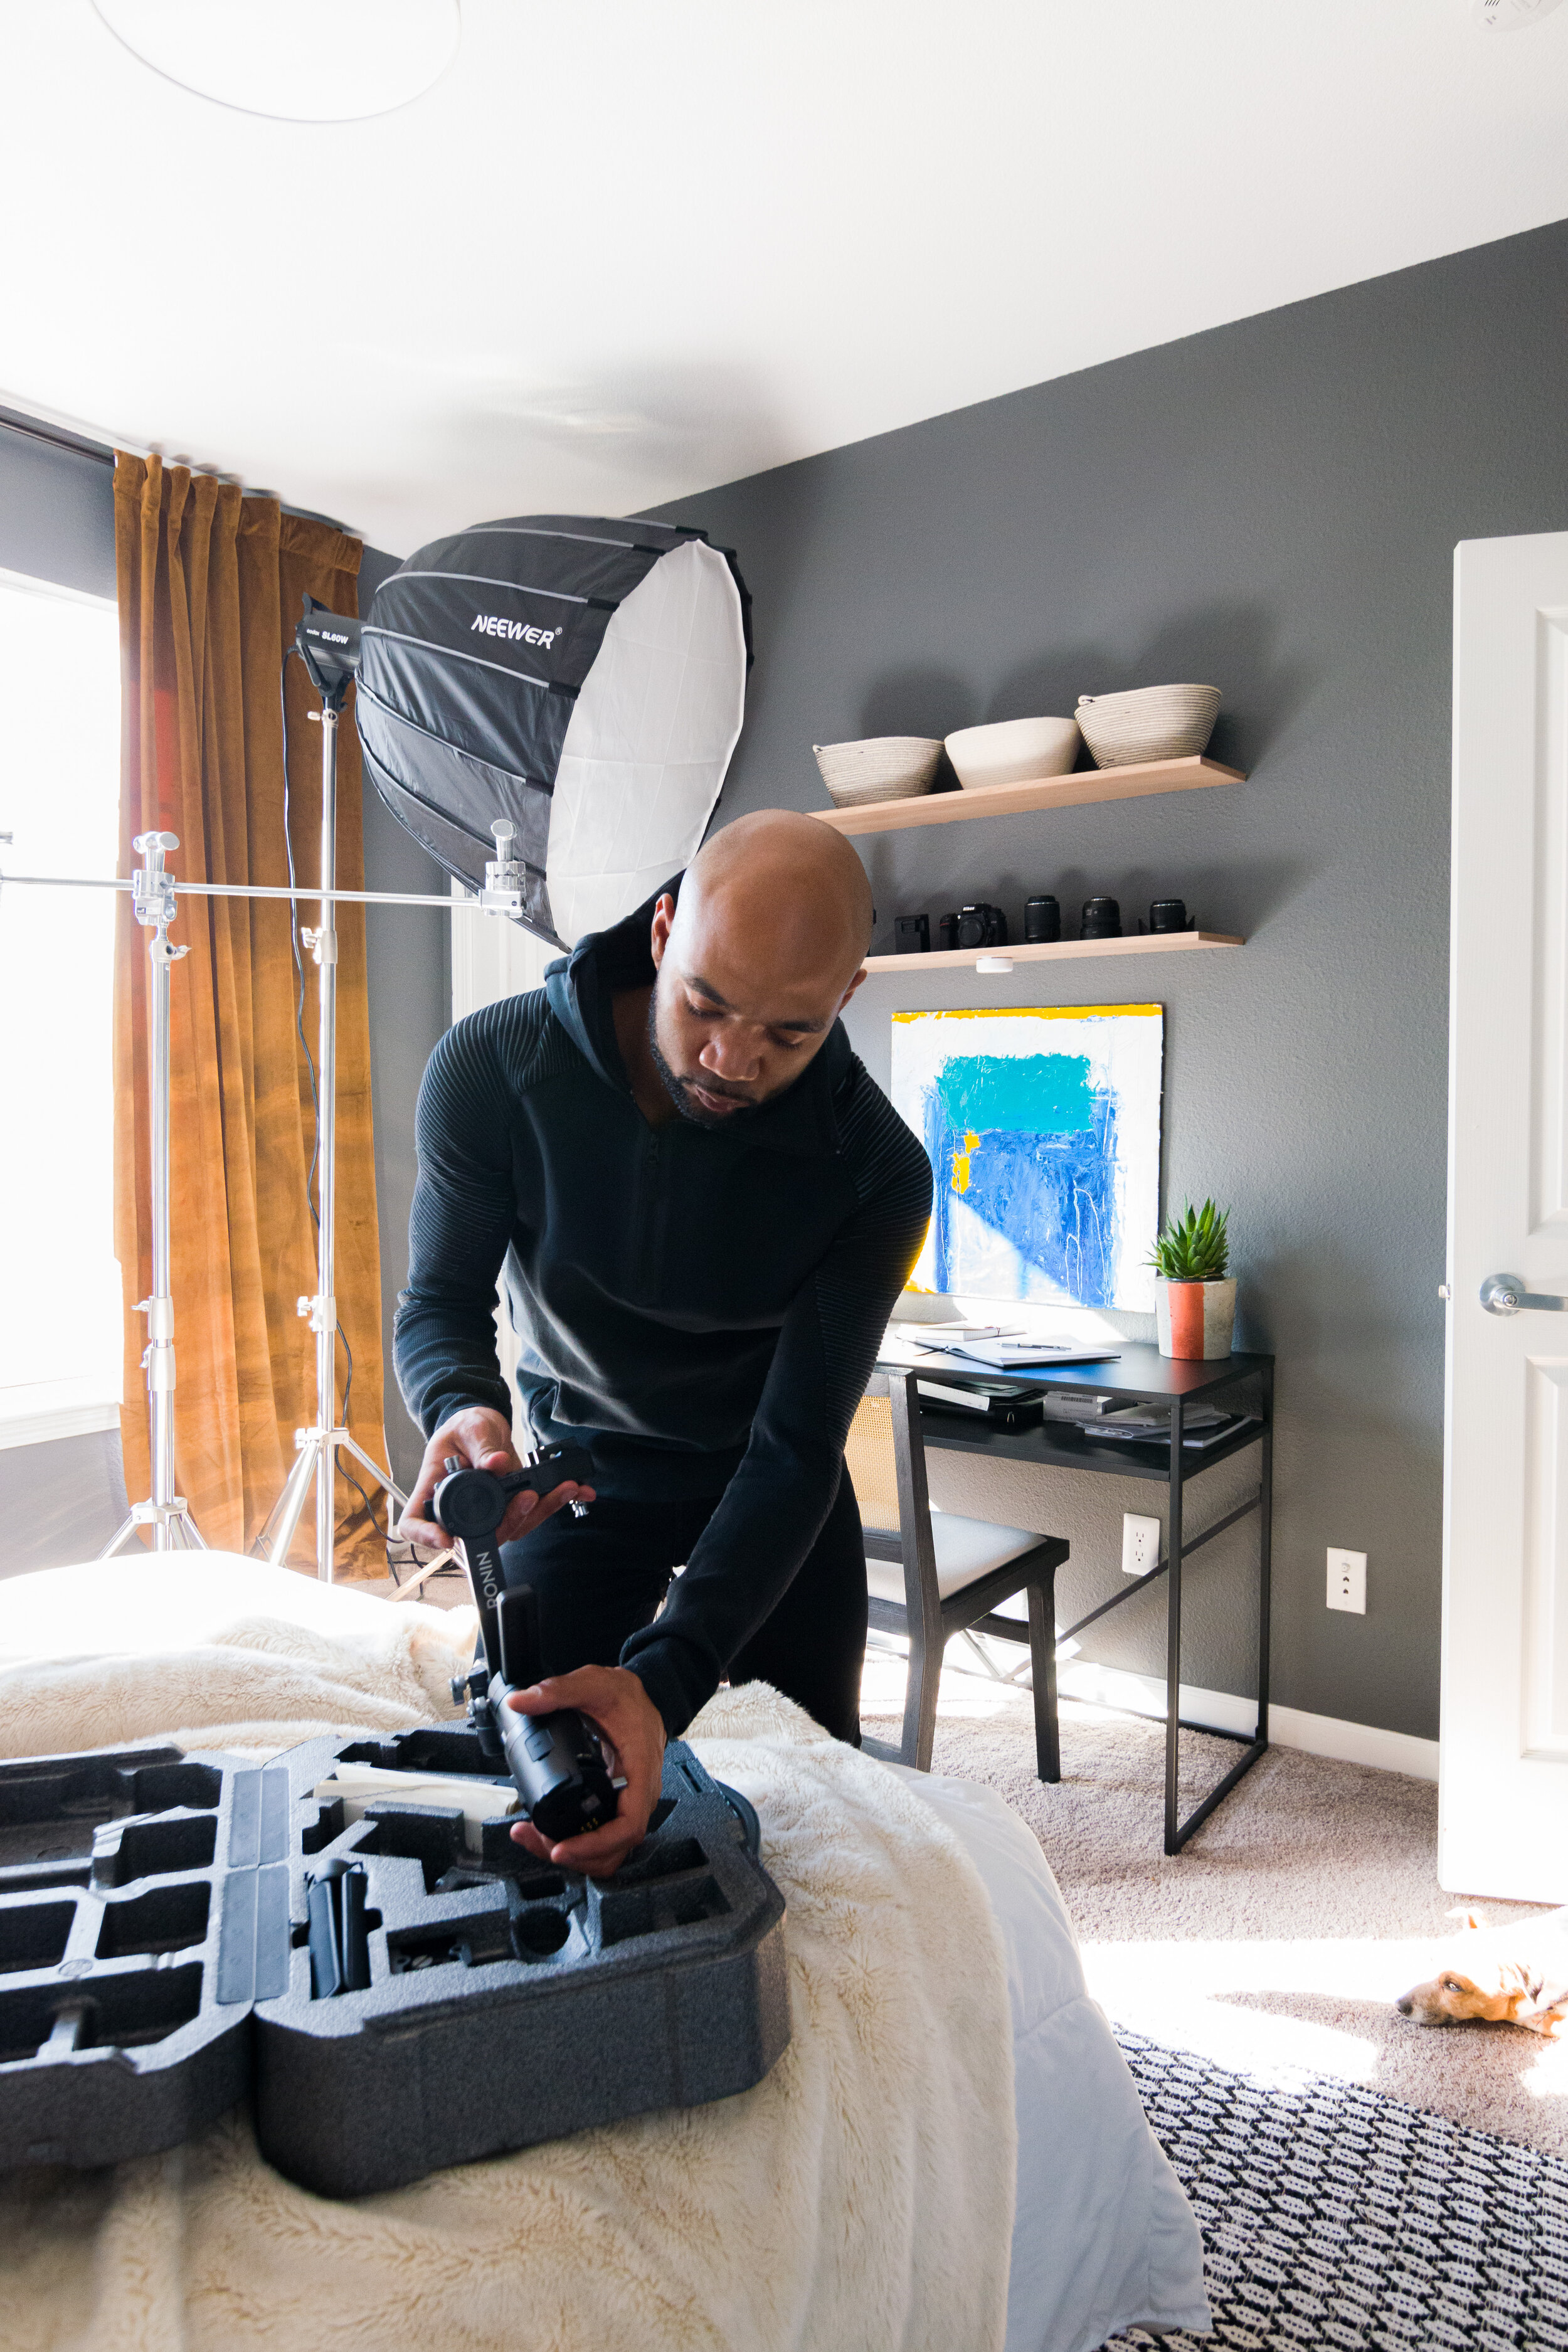
Ronin-S Gimball- This gimbal is primarily used as a camera stabilizer to get super smooth and cinematic video footage. It comes feet to stand it upright and that allows me to use it as a small tripod if needed.
Diffuser/Reflector- This one tool alone will take your photography to new heights! Being able to diffuse and/or reflect light back into your subject will be game changing for you.
Tripod- This tripod is priced quite fair for the quality. Not only is it super sturdy, but it can be used as a monopod and you’re able to shoot overhead without needing additional equipment!
Lightstand Set- This set of heavy duty light stands are a super high quality and super affordable! I use them as traditional light stands as well as an overhead tripod.
Godox Video Light - I bought this continuous light for video purposes but I’ve started using it for my photography as well. -It’s a great tool to combat the lack of natural light in the winter time. I use it without a soft box and bounce the light off the ceiling when I want want to brighten an entire room.
Soft Box- The purpose of this softbox is to soften the light and delivers even distribution. You can use the continuous light without the softbox, but you’ll end up with harsh shadows. -It’s like using a lamp without the shade.
I hope this round-up guides you in the right direction on your journey to creating quality content. If you need additional clarity, don’t hesitate to reach out! I’m also open to offering one-on-one training, shoot me an email at demetrius@athomewithsavvy.com if you’re interested.


