
D.I.Y Fluted Side Table Tutorial
I’m back with another DIY project in partnership with The Home Depot, this time we’re building a fluted side table! These fluted side tables have been one of the hottest design trends this year and I’ve been eyeing them for quite some time now. The issue I kept running into was they that they were all too short for my liking! After a few months of sourcing, I found the perfect one but it wouldn’t ship until later this year and I was NOT happy about that! So, I decided to save myself a few hundred dollars and go the DIY route!
This DIY is very beginner-friendly, so you don’t need a ton of experience. So don’t feel intimated by the finished product, It was quiet easy! But I do suggest that you watch a few tutorials on operating your Miter Saw, everything else is pretty straightforward.
All of the materials, tools and even my makeshift workbench can all be found at your local Home Depot store or the website. If you follow me on Instagram you know my love for Home Depot runs deep! They are the place to go for all things DIY and home improvement and they even have a super stylish home décor selection online! I’ve ordered a few pieces of furniture from their site for a current design project and can’t wait to share them with you soon!

MATERIALS
(30) 5/8” x 48” Wooden Dowels
(1) 12” x 48” Tube for Concrete
(1) 1” x 17.75” Pine Round for Tabletop
Liquid Nail (or any adhesive of your choice)
(2-3) Ratchet Straps or Bungee Cords
Painter’s Tape
*Optional -Paint or Stain ( I used Ebony Stain)
TOOLS
Miter Saw
Handsaw (or Razor Knife)
INSTRUCTIONS
Measured tube and make markings around the tube dat the 24” mark and cut concrete tube in half
Cut dowels at 24” mark with Miter Saw. I found it easiest to tape (6) dowels together at 24” mark with
Stand concrete tube upright and apply a generous amount of adhesive (add adhesive in smaller sections as you go, you don’t it to start drying before you get to the other half of the tube).
Begin adding dowels one by one until complete.
Add your Ratchet Straps or Bungee Cords
Rest tube (with dowels attached) atop the Pine Round Tabletop and trace the outline of the base. This will indicate where you’ll add your adhesive to secure the base to the tabletop.
Add Adhesive inside the line you traced on the bottom of the tabletop and place your “table base” on top and let dry for 24 hours. (I suggest that you leave the table upside down while it dries).
Flip your table over and sand any rough spots if needed.
(OPTIONAL) Paint or stain your table.
Start styling your newly built table!

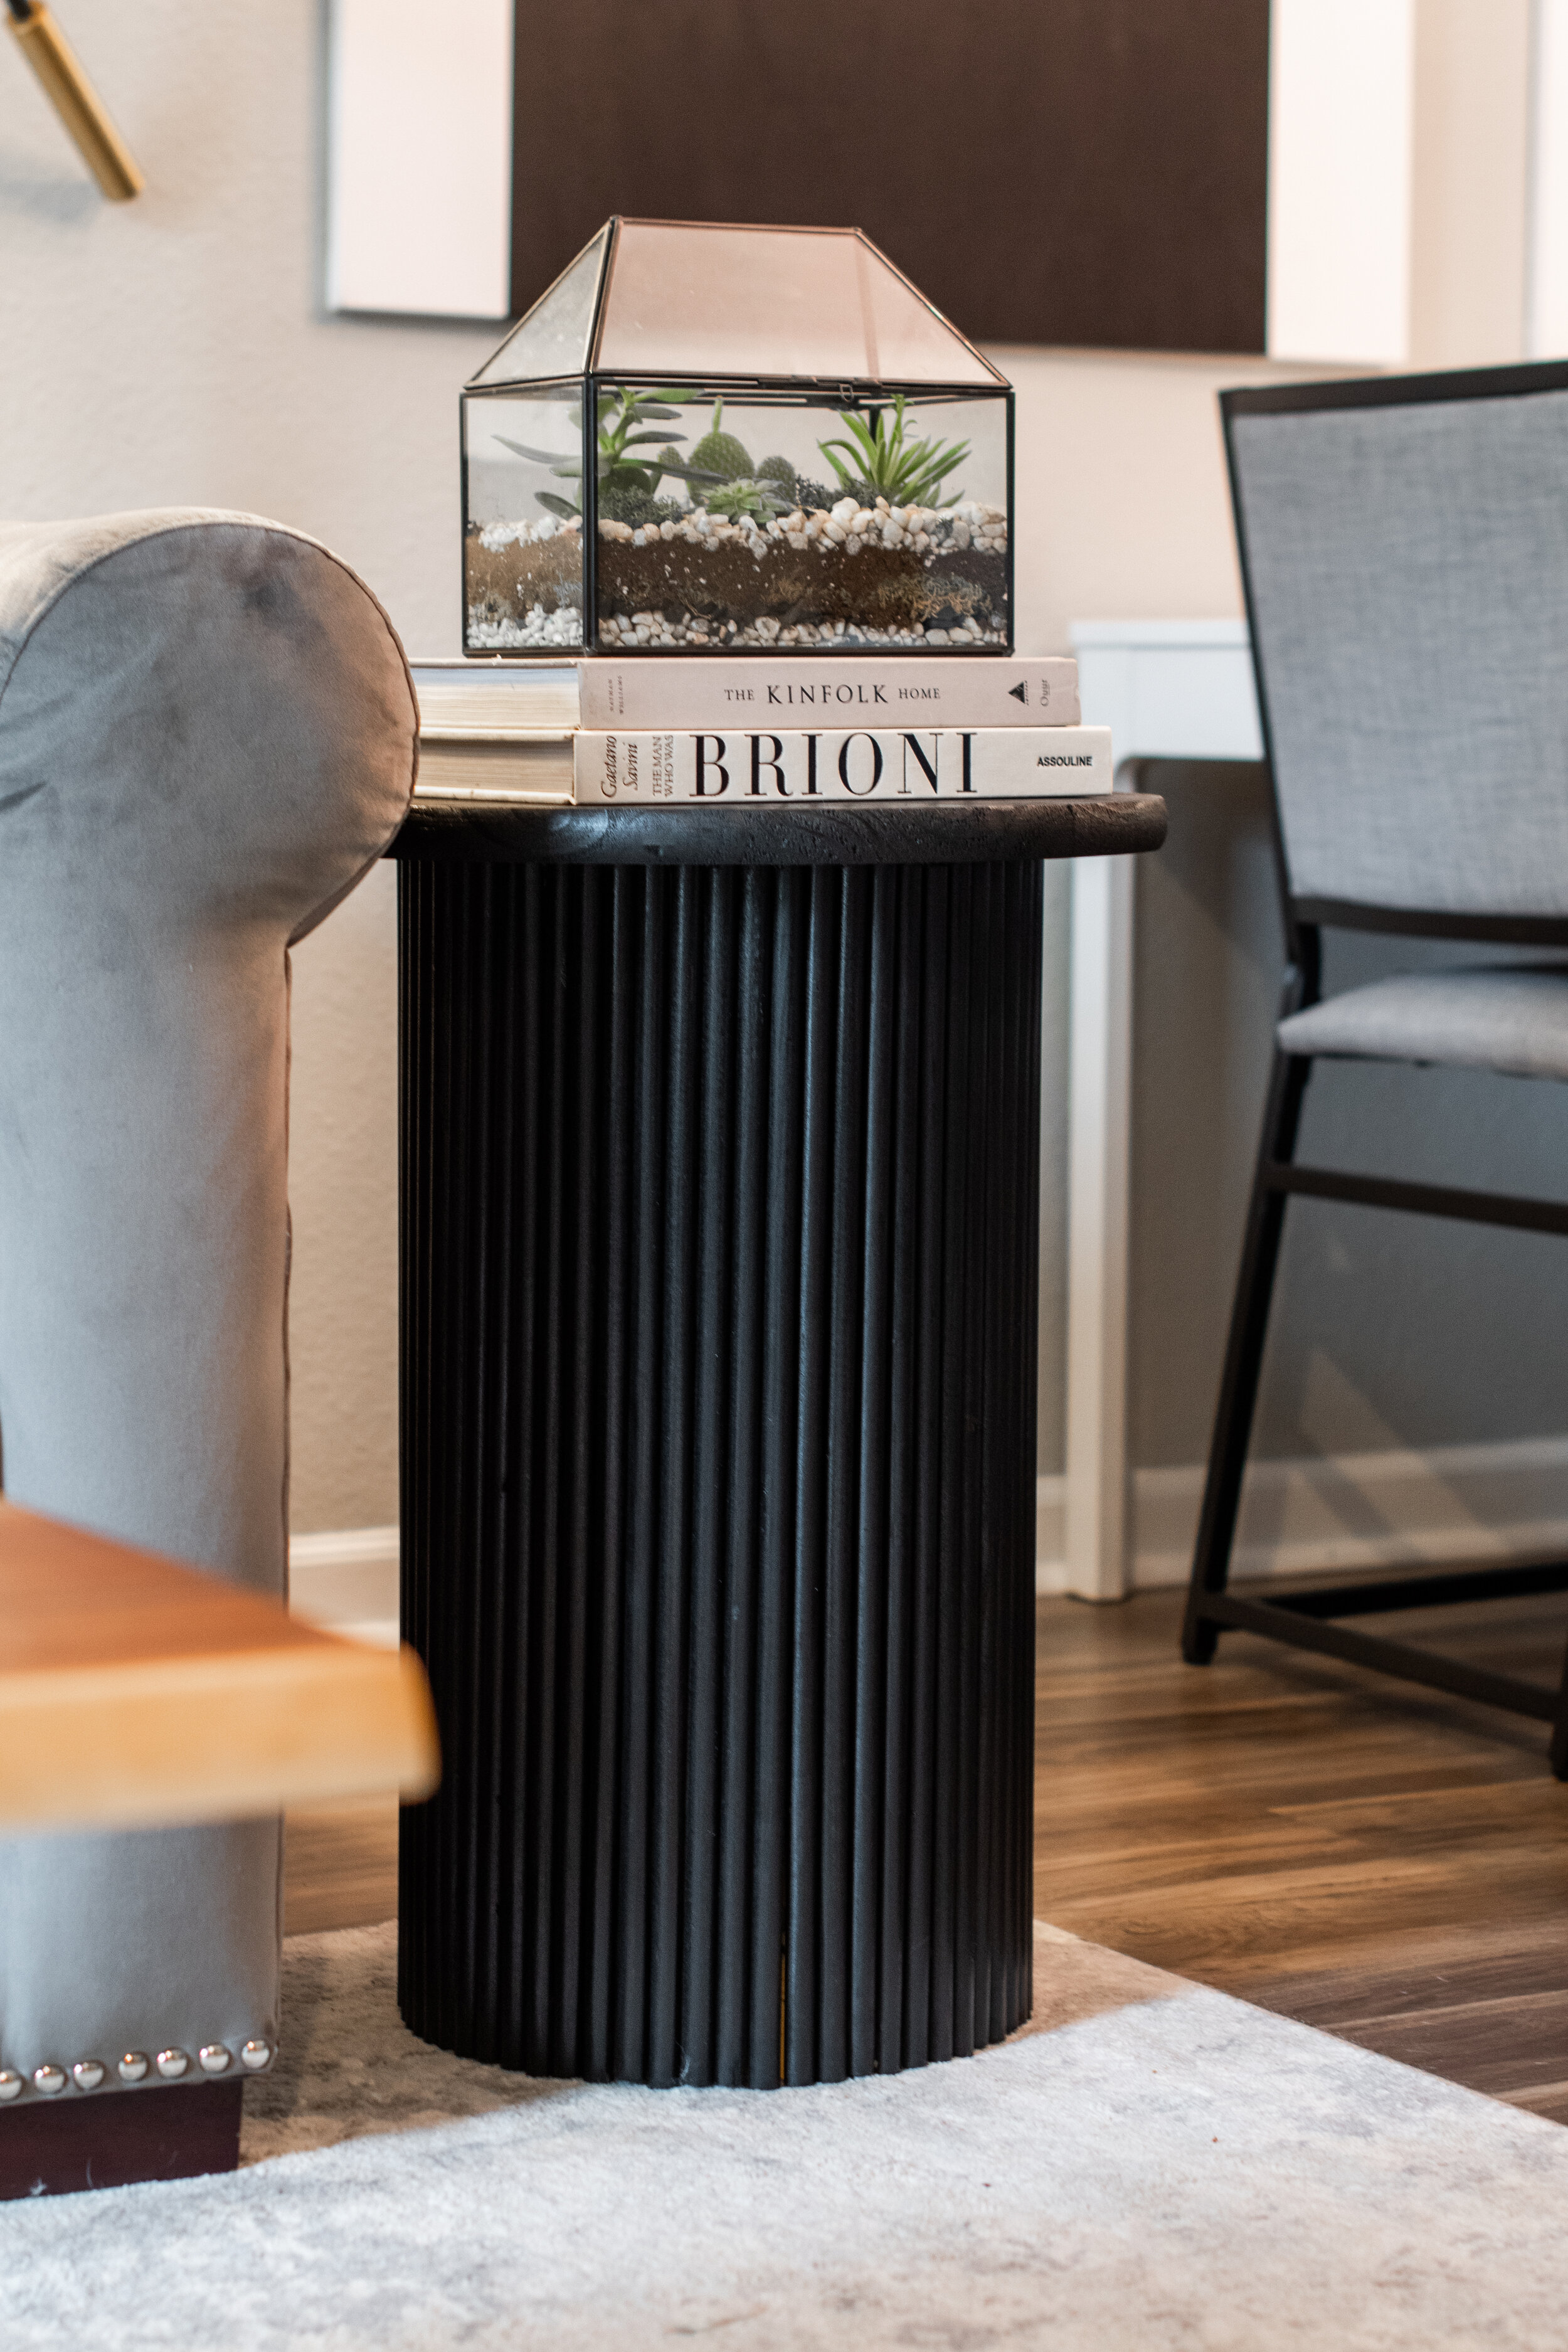
The overall height of my table is 25” H.
INSTRUCTIONS
Measure the tube and make markings around the tube at the 24” mark, connect markings and create a guideline around the entire circumference and cut concrete tube using a handsaw (or Razor).
Cut dowels at 24” mark with Miter Saw. I found it easiest to tape (6) dowels together at 24” mark with painter’s tape to ensure that they won’t be sliding around your work surface.-Repeat until all dowels are cut.
Stand concrete tube upright and apply a generous amount of adhesive (add adhesive in smaller sections as you go, you don’t it to start drying before you get to the other half of the tube).
Begin adding dowels one by one until complete.
Add your Ratchet Straps or Bungee Cords to tighten and secure the dowels in place.
Rest tube (with dowels attached) atop the Pine Round Tabletop and trace the outline of the base. This will indicate where you’ll add your adhesive to secure the base to the tabletop.
Add Adhesive inside the line you traced on the bottom of the tabletop and place your “table base” on top and let dry for 24 hours. (I suggest that you leave the table upside down while it dries).
Flip your table over and sand any rough spots with 220 grit sand paper if needed.
(OPTIONAL) Apply paint or stain. I chose an Ebony Stain in a satin finish. -I applied two coats.
Start styling your newly built table!

Here’s a close up shot of the stain. It’s a true black just like my living room shelves I built.

Here’s the table styed in my living room. -It looks so good I could SCREAM!
If you build one (or a thousand) of these fluted side tables, be sure to tag me on Instagram @ATHOMEWITHSAVVY, I can’t wait to see! Until next time, you take care and make sure you are living your best elevated home lifestyle in every aspect. Thanks for reading.
LINKS TO EVERYTHING YOU’LL NEED!
Pine Round Table Top- SOLD IN STORES ONLY